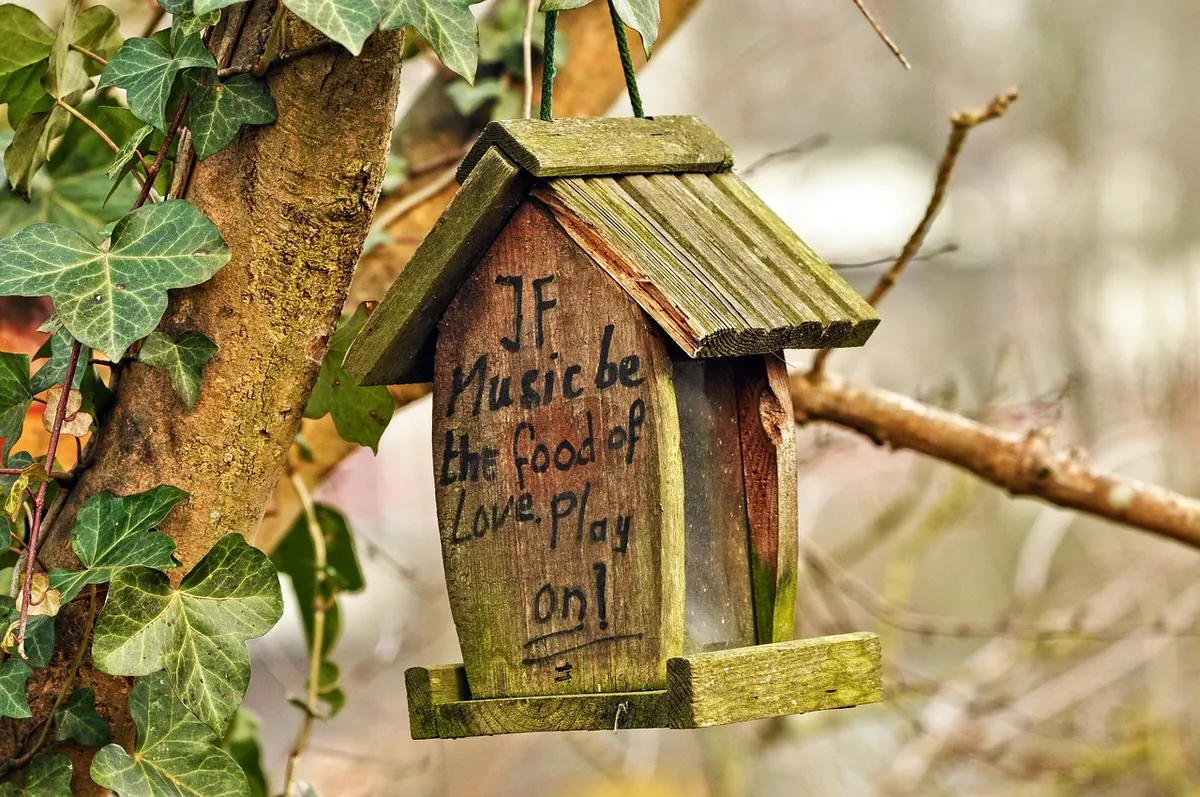
Few birds give themselves away as readily as the kestrel. A bird hanging into the wind over a roadside verge, head locked on the grass below, is a kestrel more often than not. If you have rough, tussocky ground within a field or two of your garden, it is worth giving one somewhere to nest. Kestrels do not build nests; they want a cavity, a ledge or an old crow's nest, and those are in short supply in a tidy landscape. A well-made box, fixed high enough and sited with a bit of thought, can fill that gap for years. It will not work everywhere, though, so read the siting notes before you pick up a saw.
Kestrels hunt voles, mice and large insects over rough grassland, field margins, young plantations and unkempt verges. If your view is mown lawn, tarmac and close-board fencing, a box will most likely sit empty or be claimed by stock doves.
The strongest candidates are gardens on the edge of farmland, allotments with scruffy corners, smallholdings, school grounds with a wild area, or anywhere with a paddock, railway embankment or set-aside strip nearby. Watch for hovering birds through the winter. Kestrels hold territories all year, so a bird working the same patch in January is a good sign. It is also worth asking about neighbouring land — permission to mount a box on a barn gable is often easier to get than people expect.
The traditional kestrel box is tall and narrow, with a round entrance hole near the top of the front panel. A hole of about 75 mm suits a kestrel and is too small for a barn owl or tawny owl, which keeps your paperwork simple and avoids turf wars.
A sealed box sweats. Air has to move through it, which is why the ventilation slots and floor drainage matter as much as the roof. Treat the outside with a water-based exterior stain so the timber can still dry out, and leave the inside untreated.
Pale colours are better than dark ones. A dark box in full sun can become uncomfortably hot, and heat is a bigger killer of chicks in a British summer than most people assume. Check the roof covering each autumn; a leaky roof is the single most common reason these boxes fail after a few seasons. If the box sits on a pole, make sure water cannot run down the pole and into the floor — a small drip collar, or simply raising the box on battens, sorts it.
Three to five metres above ground is the sweet spot. Higher on a building gable is fine; anything below two metres is a cat's playground.
Face the entrance between north-east and east. That keeps it out of the prevailing south-westerly rain and away from the fiercest midday sun, while still giving the birds a clear flight line. Keep about a metre of clear air below and in front of the entrance so nothing can launch at it from a branch.
Fix the box with two brackets rather than one so it cannot rock in a gale, using galvanised or stainless steel fixings. On a tree, strap or bracket the box rather than nailing into the trunk, and check the fixing each year. On a post, a treated 75 mm timber or a scaffold pole with a smooth metal collar at about 1.5 m will deter most climbing predators.
Open the box in late October or November, once the breeding season is well over. Clear out old pellets, fur and insect debris, and replace the shavings with fresh dry material. Wear gloves and a dust mask; dried droppings and old nest material are unpleasant to breathe in. Kestrels generally lay from April into May, so any maintenance should be finished by the end of February.
If a bird is sitting, close the box and walk away. Kestrels, their nests and their eggs are protected under the Wildlife and Countryside Act 1981, and disturbing an active nest is an offence. If you need to work near one — roof repairs, tree surgery, a survey — take advice from a licensed ecologist or the relevant statutory conservation body before you start.
Jackdaws, stock doves and grey squirrels will all investigate a vacant box. Clear out an empty box in early winter, before the nesting season begins, but once anything is nesting in it, leave well alone.
Keep a simple record: the date you put the box up, what used it, how many young fledged. Two years of notes tells you more about your site than any general advice can.
If nothing has shown interest after two full springs, the problem is almost certainly the setting rather than the box. Try another position with more open hunting ground,
Photo: MabelAmber / Pixabay
Turn recycled paper, flour paste and patience into a lightweight owl sculpture. A step-by-step beginner's guide to...

Bind a handmade falconry journal with raptor motifs and printed record pages — a weekend project that turns a...

Where to sketch live birds of prey in the UK, from red kite feeding hides to falconry displays, plus field technique...

Handcrafted art inspired by birds of prey.
