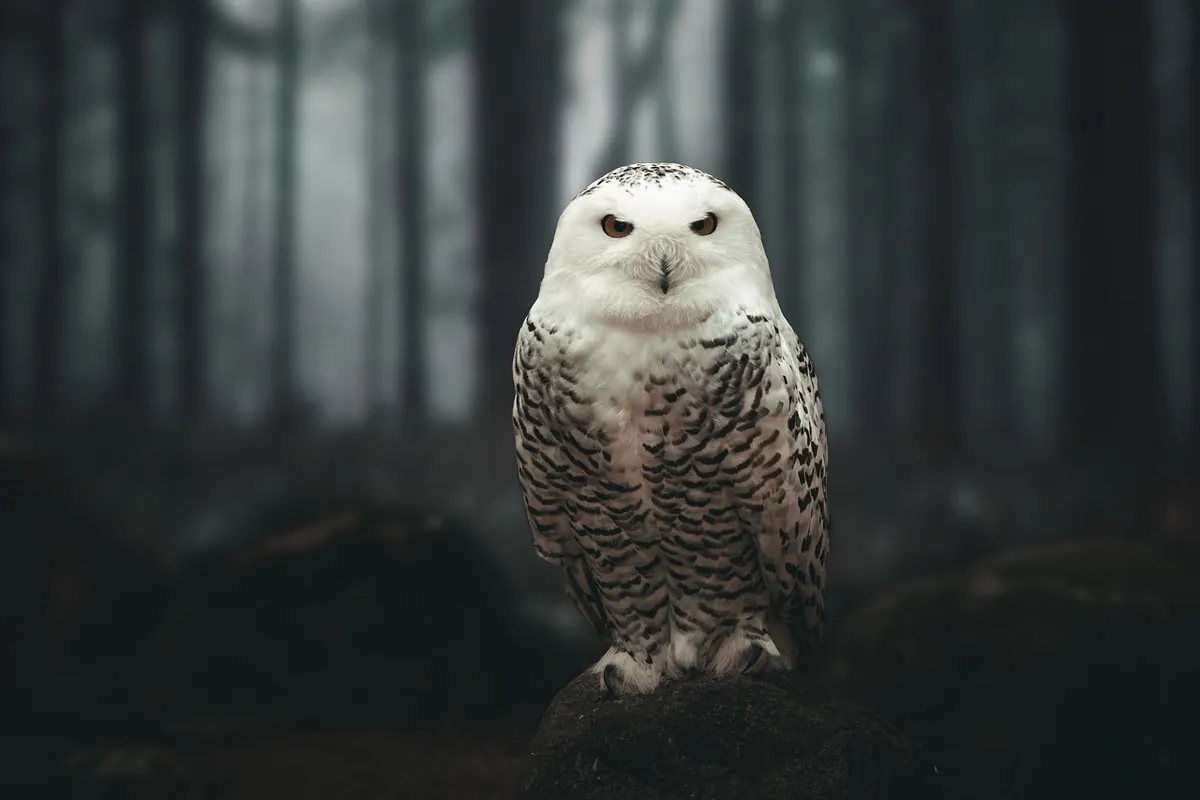
There is a particular kind of evening in late November when the light goes early and the sewing chair becomes the best seat in the house. A small felt owl suits that hour exactly: quick enough to finish before bed, detailed enough to feel worth the effort, and sturdy enough to survive a decade of Decembers in a box under the stairs.
It hangs on a tree, tucks into a wreath, or travels as a gift tag that the recipient keeps long after the wrapping paper has gone.
Wool-blend felt is the right material here. Cheap acrylic squares pill, stretch and go shiny under the needle. A wool or wool-blend felt of about 1–2mm holds a crisp cut edge, takes embroidery thread without tearing, and comes in the soft greys, oatmeals and rust browns that look at home on a winter branch.
Owls are forgiving shapes, too. There is no face to get wrong and no left and right sleeve to match. Two rounded forms, a beak and a pair of eyes are enough for anyone to read the bird at a glance, which matters when the finished ornament is only 8cm tall.
Fold a scrap of paper in half and cut half an owl shape on the fold so the result is symmetrical. The body wants to be roughly 8cm tall and 6cm across at its widest point, with two small tufts at the top for the ears. Cutting those tufts as part of the body outline, rather than sewing them on separately, keeps the silhouette clean and the seams simple.
Then cut a wing — a teardrop about 4cm long — and a breast panel, which can be a plain oval or a crescent. The beak is a triangle no bigger than 1cm. Trace onto felt and cut with the scissors held vertically: felt records every wobble, and clean cuts do more for the finished owl than any amount of fancy stitching.
Work the face and wings before the body is closed. Position the breast panel, pin it, then backstitch around its edge with two strands of floss. Small, even stitches, about 3mm long, read as neatness rather than effort.
Whip stitch the wings to the front piece along their inner edge. A single row of running stitch across each wing suggests feathers without turning the ornament into a sampler. The beak takes three or four tiny stitches to anchor it, with the point angled slightly downwards.
For the eyes, a French knot with two wraps of thread makes a neat 3mm eye; five or six wraps give a softer, more owlish look. Beads are glossier but they are a choking risk for small children and pets, so if the owl is going to a house with a baby or a curious cat, work padded satin stitch eyes instead, or a small felt circle held with one stitch in the middle.
Place the front and back body pieces together, wrong sides facing, and blanket stitch around the outer edge. Felt does not fray, so there is no seam allowance and nothing to turn through — you stitch the ornament as it will be seen. Begin at the base of one ear tuft, keep the stitches even, and stop 3cm short of where you started.
Fill the owl lightly, using the end of a pencil to push small tufts of filling into the ears and corners. Overstuffing is the most common mistake: a soft, slightly squashy owl looks handmade, a tight one looks lumpy. Close the gap, tie off with two firm knots, then run the needle back through the middle of the owl to bury the thread tail.
For a hanging loop, fold a 12cm length of ribbon or doubled twine in half, knot the two ends together, and stitch that knot inside the top of the head before you close the seam. It disappears into the filling and the loop cannot pull out.
A flat version makes a gift tag: cut two layers, skip the stuffing, blanket stitch around the edge and work the recipient's name in backstitch across the back. It takes twenty minutes and is far more likely to be kept than a paper tag.
On a wreath, a loop of twine slipped over the wire base holds better than glue, and it can be moved next year without leaving a mark. On a tree, pale owls show up best against dark foliage; a charcoal owl hung among dark branches disappears, no matter how good the stitching is.
Three combinations that always work:
To ring the changes, stitch a simple six-pointed snowflake in white floss on the breast, or make a family of three owls in graduated sizes — 6cm, 8cm and 10cm — and hang them together on one loop of twine.
Store felt ornaments flat in a lidded box with acid-free tissue between the layers, and keep them
Photo: Jecqan / Pixabay
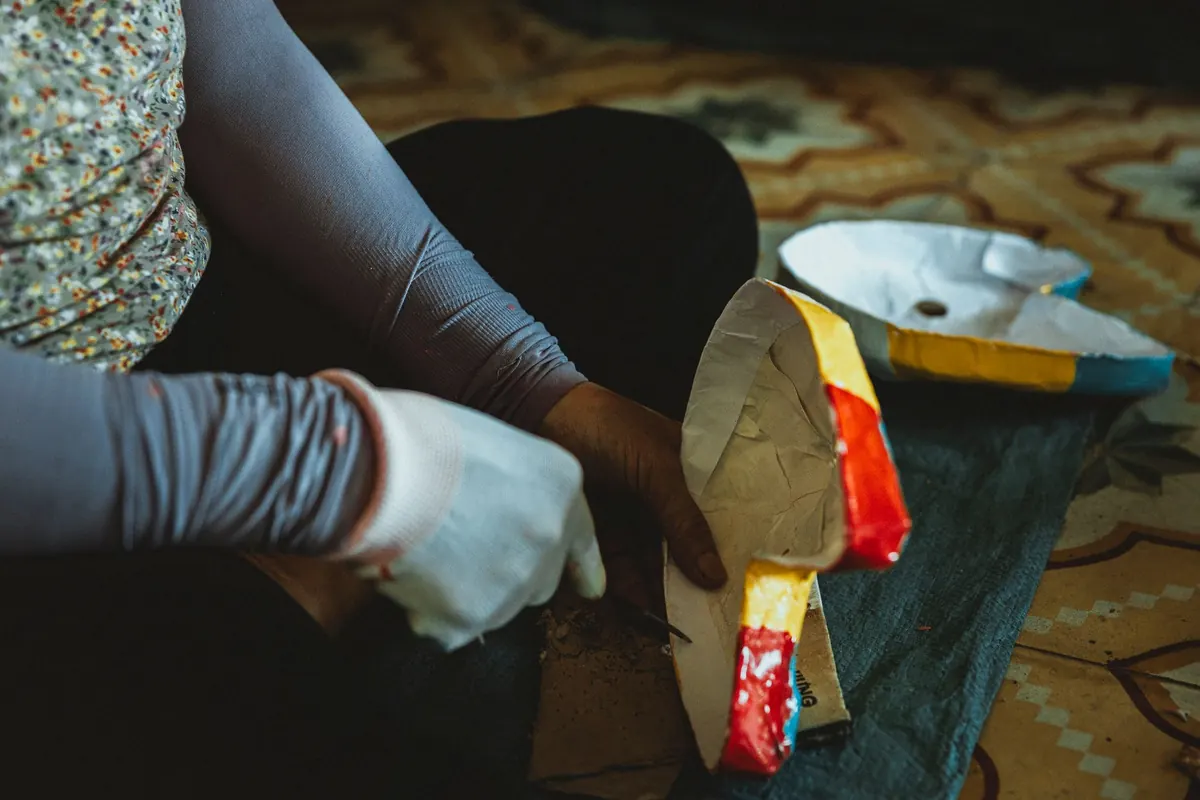
Turn recycled paper, flour paste and patience into a lightweight owl sculpture. A step-by-step beginner's guide to...
Bind a handmade falconry journal with raptor motifs and printed record pages — a weekend project that turns a...

Where to sketch live birds of prey in the UK, from red kite feeding hides to falconry displays, plus field technique...
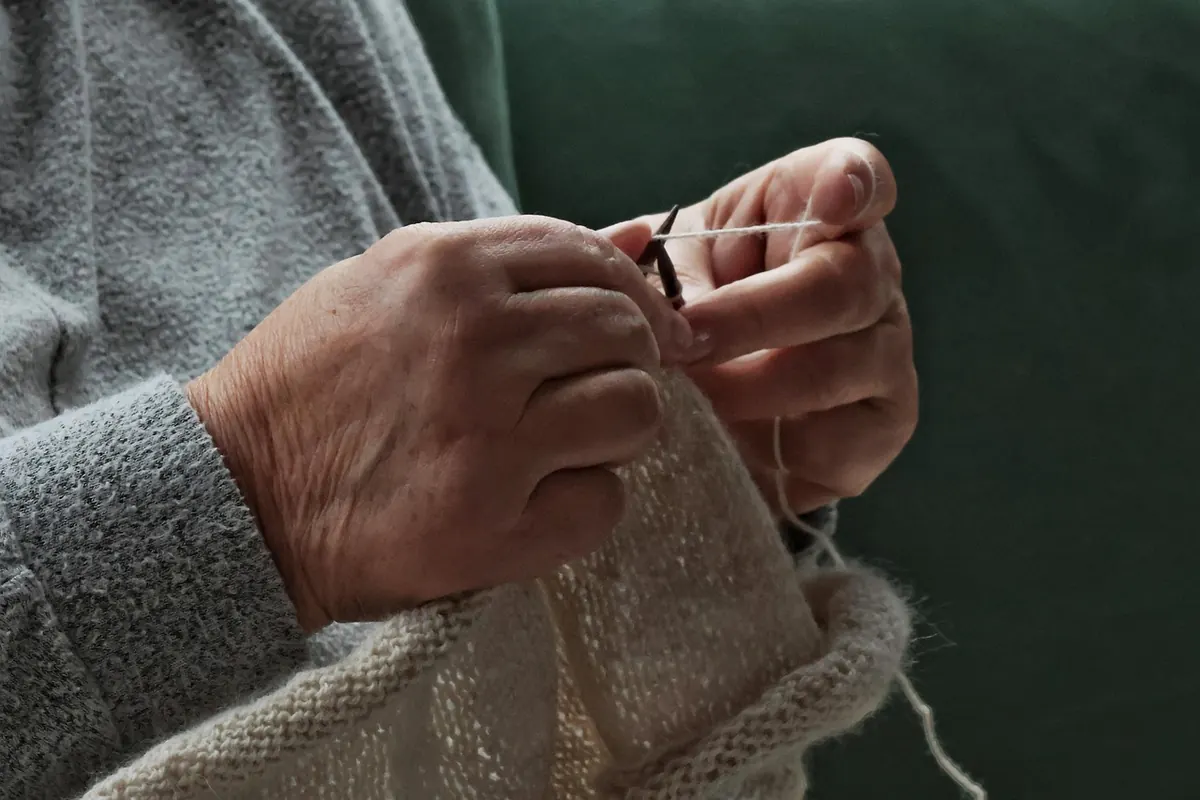

Handcrafted art inspired by birds of prey.
