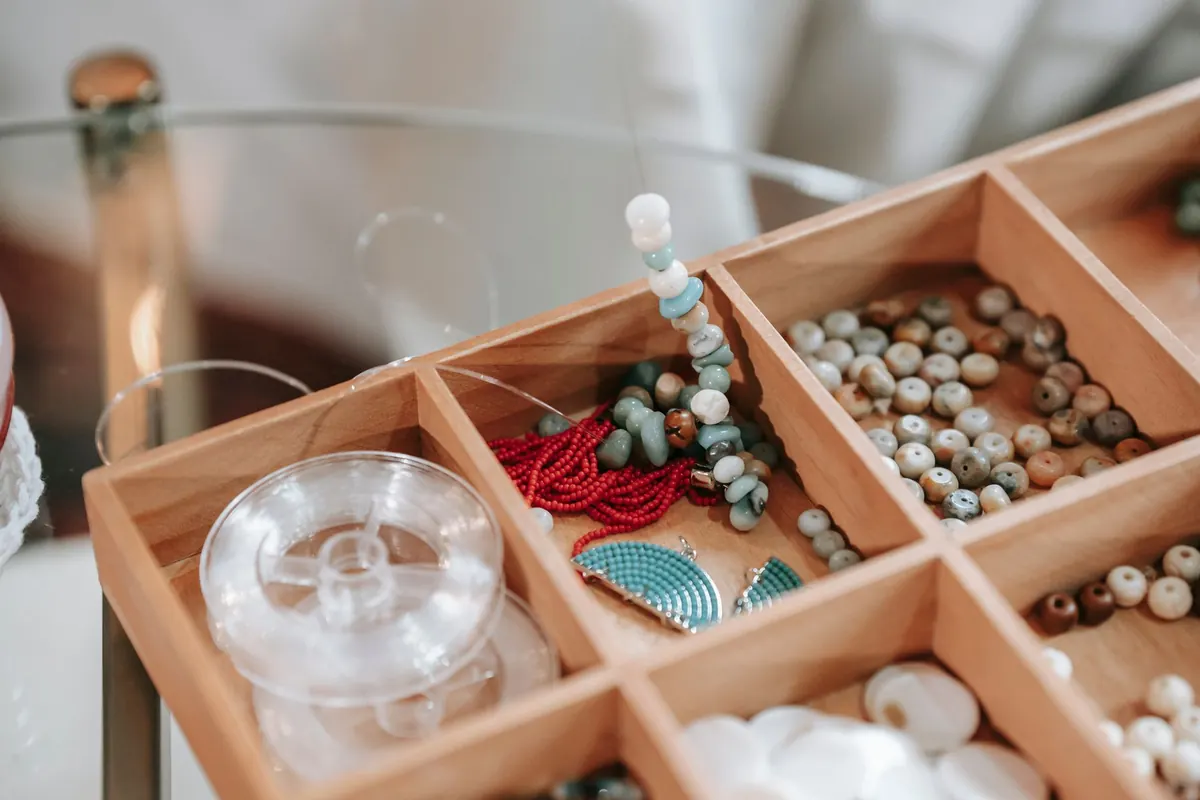
A kestrel hovering over a verge, a barn owl on a gatepost, a red kite tilting across the ridge — birds of prey are irresistible subjects and even better made with your own hands. The tricky part is choosing what to make them from. Felt, clay, resin and papier-mâché kits all promise a finished raptor, but they ask for very different things: dexterity, patience, ventilation, drying space, and an honest sense of how much mess you can live with. Choose badly and a relaxing weekend turns into a battle with cracked clay and sticky worktops. Here is how the four most common kit materials compare.
Most kits look similar on the shelf: a box, a pattern, a set of parts. The material shapes everything else. It sets how long you wait between steps, how much a mistake costs you, how well the finished bird survives handling, and whether the result reads as a soft toy, a sculpture or a piece of jewellery. Before you compare brands, compare materials.
Felt raptors are usually built from pre-cut or printed panels, stitched with a simple blanket or whip stitch and lightly stuffed. There is no drying time at all, which is why these kits suit an evening or a wet afternoon with children.
Skill level: low. If you can thread a needle and cut a clean line, you can finish a felt kestrel. Look: soft, graphic and slightly stylised — excellent for owls, less convincing for a sharp-beaked falcon, since fabric will not hold a fine point. Cost: the lowest of the four, especially if you already own scissors and thread.
Clay gives you a bird with weight and presence. It is also where most beginners meet their first real obstacle: supporting the shape while it sets.
Build a rough armature from aluminium foil and wire — a foil ball for the body, wire for the legs and wings — then add clay in thin layers. Anything much thicker than a centimetre risks cracking as it dries, so foil cores and hollow forms matter. Allow one to three days to dry, longer in a cold, damp room. Finishing brings the bird alive: sand smooth, seal with a coat of gesso, then dry-brush acrylics in greys, browns and creams.
Polymer clay stays workable until you bake it, which makes it ideal for fine details such as talons, beaks and eyes. Follow the maker's temperature and timing exactly; underbaked pieces stay brittle and crumbly. Skill level: moderate. Cost: low per block, though sculpting tools add up.
Resin is rarely used for a whole bird. It shines in accents: cast talons, translucent eyes, a single feather suspended in a clear panel, or a small raptor poured into a silicone mould.
Skill level: moderate to high. Two-part resin must be measured accurately — approximate ratios give tacky results that never fully set. Mix slowly to reduce bubbles, pour in a warm room, and be patient. Demoulding usually happens the next day, but full hardness takes longer, so leave pieces undisturbed before sanding or drilling.
Safety matters here more than with any other material. Uncured resin can irritate skin and, with repeated exposure, cause sensitivity. Work with nitrile gloves and eye protection in a well-ventilated space, follow the kit's own instructions, and if you notice a rash, itching or breathing discomfort, stop and seek medical advice.
Cost: the highest of the four. Look: glassy and jewel-like — nothing else in a craft box gives that wet shine.
Papier-mâché rewards patience. A wire and tape armature, a few layers of torn newspaper strips and paste, and you have a light but strong shell that suits larger birds — a red kite, a buzzard, a golden eagle's head.
Skill level: low, but the timeline is the catch. Each layer should dry before the next goes on, so a well-built raptor can take several days to a week. Build up three to five layers, working strips in different directions so the form stays rigid.
Finishing is everything. Once dry, a coat of gesso or thinned PVA gives acrylics something to grip. Paint broad blocks of colour first, then dry-brush lighter tones over the raised feather edges you built with the strips. Cost is the lowest of the four, though not the tidiest. Flour-and-water paste works, but a shop-bought paste resists mould better in damp conditions, and half-finished pieces should be stored somewhere airy rather than in a cold shed.
Whichever material you pick, spend your time on the details. Character lives in the shape of the head, the set of the eyes and the grip of the feet, so paint a bright iris, darken the beak edge and give the talons a paler tip. Get those right and even a simple felt bird will read unmistakably as a raptor.
Photo: Miriam Alonso / Pexels
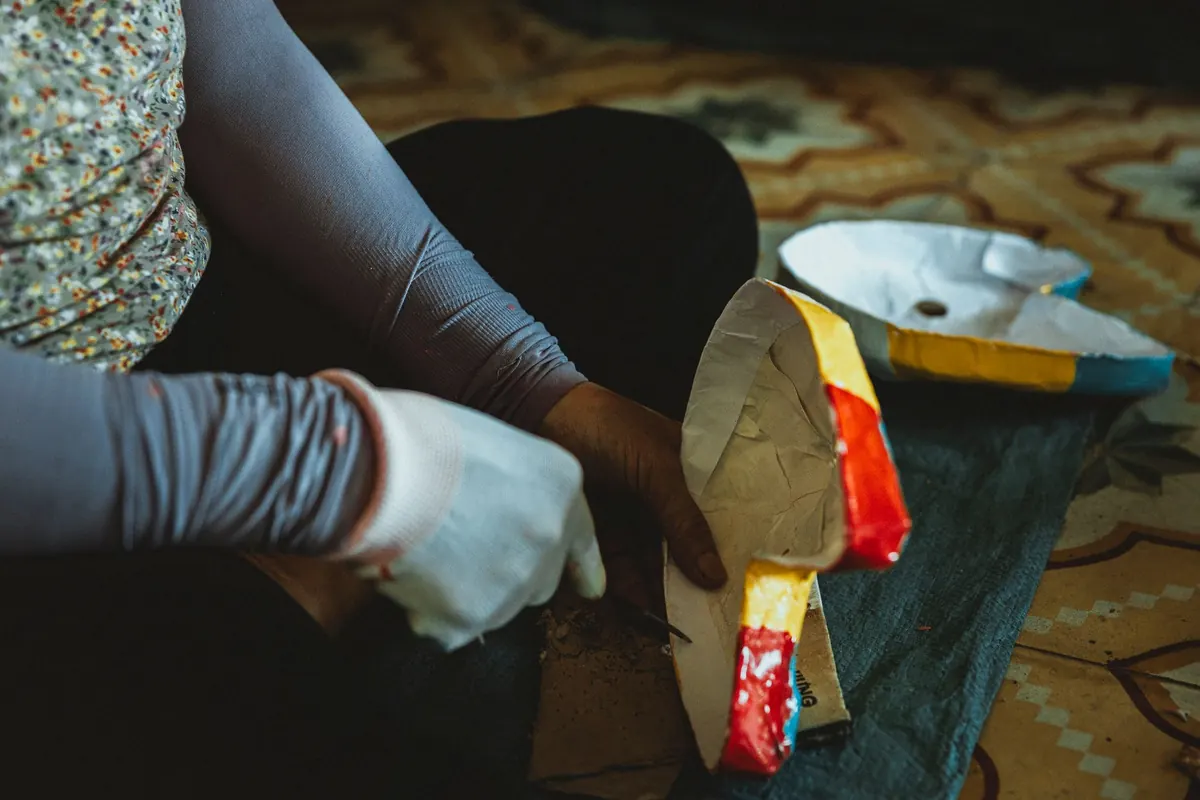
Turn recycled paper, flour paste and patience into a lightweight owl sculpture. A step-by-step beginner's guide to...
Bind a handmade falconry journal with raptor motifs and printed record pages — a weekend project that turns a...

Where to sketch live birds of prey in the UK, from red kite feeding hides to falconry displays, plus field technique...
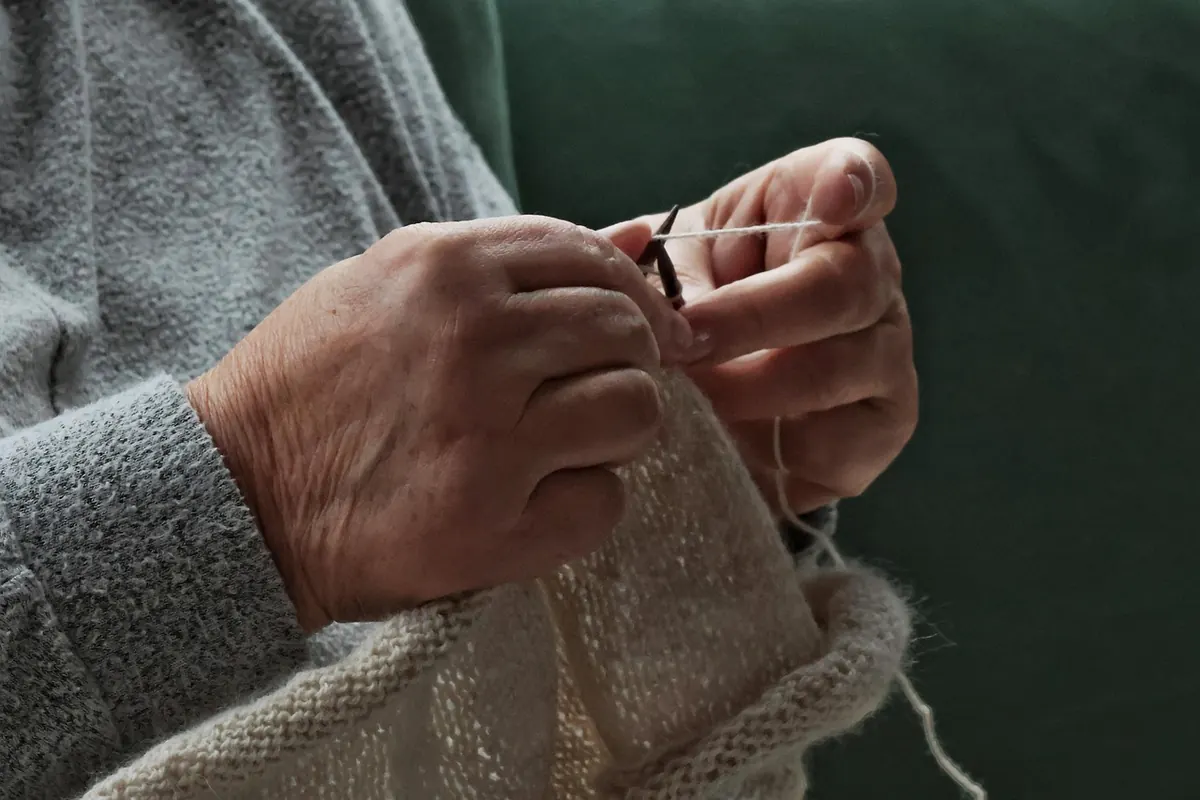

Handcrafted art inspired by birds of prey.
